The article was prepared and submitted to us by Troika Systems Ltd.
In the last article we talked about the how to start your anilox roller inspection. This is a continuation of the previous article.
Track and Trace
Colour and brand control are vital in today’s world, and colour management is at the forefront of both the brand owners and the buyers. A good anilox management is critical to ensure consistency for the brand owner and the consumer.
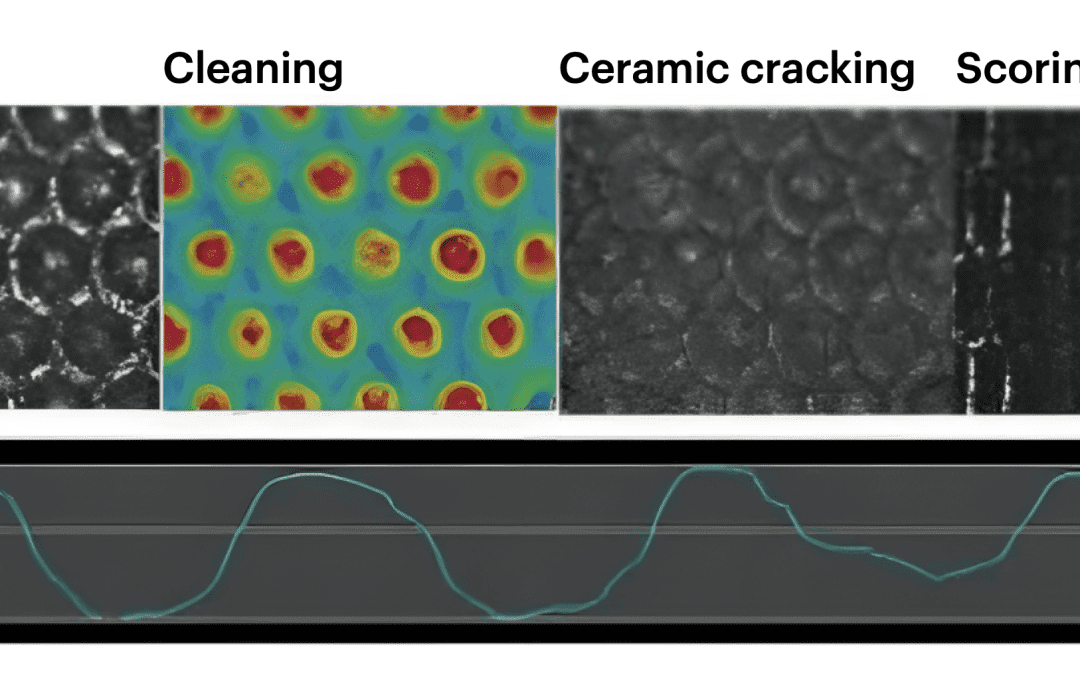
Tracking and tracing of anilox life and deterioration is important to ensure consistent running on press, colour control and density balance. Two main reasons for issues on press with colour are, contamination, and wear of cell walls and increased land area.
Both of these are common problems. However, contamination has been more common of the two, as contamination and roll plugging can happen very quickly whereas wear will happen gradually, both monitoring and measuring are required.
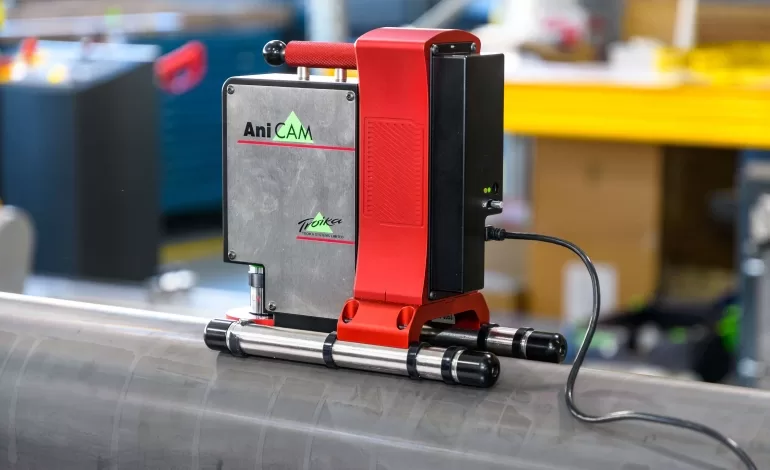
To this, Ade Morton, sales director, at ALT says, “A typical anilox will have between 40,000 and in excess of 1 million cells within 1 square inch (dependent on-screen count LPD, the size and structure of these cells are impossible to view without the correct inspection equipment). It is of great importance the printer has some method of looking at a high-powered level at the condition of the anilox roller, before we get into the close-up cell inspection and looking at the cell structure and land areas it is important first to keep in mind the overall condition of the anilox roller. Printers can easily manage this with a relatively low-cost investment in a high powered microscope manufactured for the print industry with a micrometer clock and two objective values inspection.”
Advantage of having an Anilox Roller Inspection Programme
- Having an anilox inspection programme in place allows the printer to document, monitor and control anilox inventory in a way that FlexoTech enables consistency in delivering high quality print. A proper anilox care programme is defined by two words: maintenance and inspection.
Advices from Steve Mortimer (managing director, Pamarco Europe):
- An anilox maintenance programme begins from the moment when your brand new anilox arrives, unpacking it and setting it up. Mark down the serial number, inspect the roller, and find out from our supplier what the recommended cleaning practices are, and then follow them. If you properly inspect and record the roller specifications when you first receive it, then you have a baseline to understanding how your specific roller is working later on.
- On the inspection side, there are two separate exercises: Attentiveness and record-keeping by operators, and a formal audit. Preferably operators will be observing the rollers before and after each run and before and after cleaning and recording their findings, while auditing should take place about twice a year unless there is an obvious issue that needs immediate attention.
- For Record-keeping through observation you can keep it as simple as a notebook and pen kept nearby or use complex graphing and charting on a computer to track the status of rollers. There are also automated systems that can assist with records and maintaining consistency.
- He adds to it by saying, “While we can’t speak for all audits, we can confidently say that Pamarco audits are painless for printers and can often be performed with little to no inhibition of print runs, not to mention no out-of-pocket expense. They are a great way to gain information for operators, and the best way to establish and maintain tight control over your roller inventory because they provide amazingly detailed data regarding the functioning levels of your anilox rollers – with the backing of expert-level advice and support.”
In financial terms, a single anilox roller with wear in excess of just fifteen percent can cost as much as £100,000 in a year in downtime. So, the bottom line is: it’s worth cleaning and keeping track.
This is a three-part article series
You can read the Third Article here: How to Inspect Anilox rollers – A Basic Guide Part 3


![[Flexo Flaw Fixing] Misregistration (Part 1) 049_Misregistration_CMYK](https://flexopedia.net/wp-content/uploads/2022/06/049_Misregistration_CMYK.png)

