
In flexographic printing, precision isn’t just a goal—it’s a necessity. Whether you’re printing high-end flexible packaging or corrugated boxes, defect detection plays a critical role in ensuring quality output, reducing waste, and satisfying client expectations.
Defects in flexography can arise from a thousand tiny variables—from misaligned plates and dirty anilox rolls to ink contamination and substrate irregularities. The key to success lies in catching these flaws early—or better yet, preventing them altogether.
Let’s dive deep into what defect detection really means for the flexo industry and explore practical tools, techniques, and workflows you can implement today.
What Is Defect Detection in Flexography?
At its core, defect detection is the process of identifying print anomalies that affect the quality, consistency, or readability of printed material. These defects could be visual (such as banding or registration shifts), structural (such as web breaks), or chemical (like ink pH imbalance).
In a fast-moving press environment, even a minor defect can lead to thousands of meters of wasted substrate before being noticed. That’s why real-time detection systems and preventive diagnostics are now considered essential rather than optional.
Why Defect Detection Matters More Than Ever
With consumer expectations higher than ever and print runs increasingly customized, the margin for error has virtually disappeared. Modern buyers expect consistency, legibility, and vibrant color reproduction on every package—whether it’s the first copy off the press or the thousandth.
Here’s why top printers prioritize defect detection:
- Minimizes costly reruns
- Reduces raw material waste
- Improves client satisfaction and brand trust
- Ensures regulatory compliance (especially in food or pharma packaging)
Common Print Defects in Flexography
Understanding what to detect is the first step. Here are the most common flexo print defects:
- Misregistration: Color layers are out of alignment.
- Dot gain or loss: Halftone dots appear larger or smaller than intended.
- Anilox streaks: Dirty or damaged anilox rolls cause streaky ink coverage.
- Ink spitting: Ink droplets are ejected irregularly from the doctor blade.
- Ghosting: Repetition of image elements due to improper impression or ink starvation.
- Hickeys: Small spots or blemishes caused by debris or ink contamination.
- Wrinkles or folds: Substrate handling issues leading to distortion or damage.
These defects vary in severity but share one thing in common: they can all be detected early with the right setup.
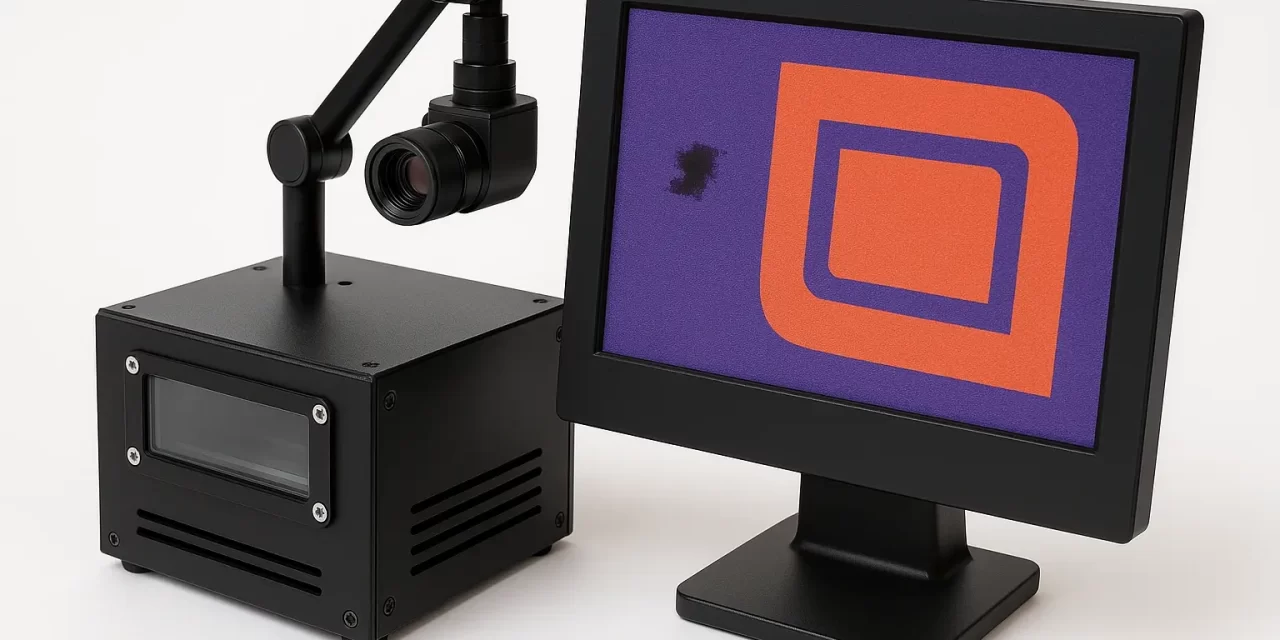
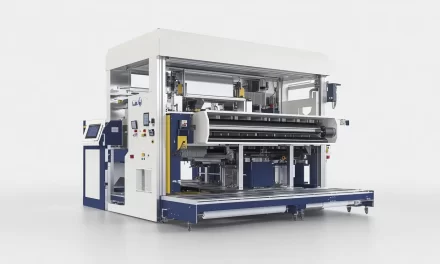
Strategy #1: Use High-Speed Vision Inspection Systems
Modern inspection systems, like those from AVT, BST or Nireco, are built for 100% print inspection. These systems use high-resolution cameras to scan every inch of the substrate during press operation.
They can detect:
- Color deviation
- Text errors
- Bar code readability
- Die-cut registration
- Surface defects
Bonus Tip: Integrate the vision system with your press control software for instant defect alarms and automatic web marking.
Strategy #2: Implement Inline Spectrophotometry
Color consistency is crucial—especially in brand packaging. Inline spectrophotometers measure color density, dot gain, and ΔE (color difference) during the run, helping operators correct deviations before they escalate.
Unlike manual pulls, inline systems track color without interrupting production. That’s faster, more accurate, and far less prone to human error.
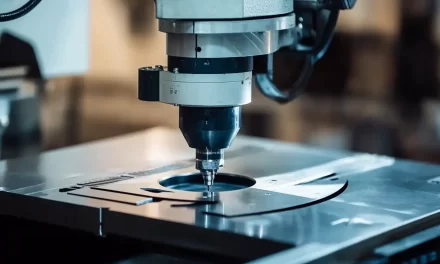
Strategy #3: Conduct Pre-Press Plate Inspection
Many defects originate before a job even hits the press. Scratches, underexposed plates, or incorrect mounting can create recurring flaws.
Invest in plate inspection systems with:
- Backlit magnification
- Automated fault scanning
- Barcode verification
- Digital archives for traceability
Checking plates in prepress saves valuable downtime and prevents repeated defects across batches.
Strategy #4: Monitor Anilox Roll Conditions Regularly
The anilox roll is the lifeline of your ink transfer system. A worn or dirty roll will disrupt ink flow and produce uneven prints. But many presses keep printing until it’s visibly too late.
How to stay ahead:
- Use microscope cameras or 3D cell volume scanners
- Schedule ultrasonic cleaning every 2–3 weeks
- Track cell volume loss over time
Remember, a clean anilox roll is a happy anilox roll.
Strategy #5: Calibrate Web Tension and Registration Sensors
Misregistration and wrinkles often stem from incorrect web tension or faulty registration feedback. These aren’t just mechanical issues—they are defect accelerators.
Here’s how to improve:
- Calibrate tension zones before every run
- Replace worn nip rollers and edge sensors
- Use auto-registration controls with real-time feedback loops
If your press is older, upgrading its registration controls can dramatically improve defect detection.
Strategy #6: Establish a Defect Logging System
Don’t just fix the defect—track it. Creating a defect log helps teams see patterns and root causes. Over time, you can identify recurring issues by:
- Operator
- Substrate type
- Ink system
- Time of day or shift
Use spreadsheets or software to record:
- Type of defect
- Machine ID
- Job name
- Date/time
- Corrective action
This turns your defect problems into preventive maintenance gold.
Strategy #7: Train Operators in Defect Recognition
Even the best technology can’t catch everything. Your operators are still the final line of defense.
Train them to:
- Recognize visual flaws quickly
- Use defect detection equipment correctly
- Perform “first article inspections” before full runs
- Know when to stop and troubleshoot
Offer visual defect guides at every station, so the standards are always visible—and mistakes less likely.
Strategy #8: Implement Digital Twin or Simulation Tools
In advanced flexo operations, digital twin technology is revolutionizing how we approach defect detection.
A digital twin is a virtual model of your press that simulates print runs and predicts when defects might occur due to environmental conditions, substrate changes, or component fatigue.
Though still emerging, this tech is incredibly promising for predictive defect control and proactive maintenance.
From Reactive to Proactive: Changing the Defect Mindset
Traditionally, defect detection has been reactive—find the error, fix it, resume printing. But in today’s market, proactivity wins the game.
By combining vision systems, real-time feedback, operator expertise, and smart data use, modern flexographic operations can transform defect detection from a last-minute scramble to a strategic advantage.
Key Takeaways: Your Roadmap to Better Defect Detection
| Action | Impact |
|---|---|
| Invest in 100% inspection systems | Full visibility of every print unit |
| Inspect plates and anilox before press | Catch flaws at the source |
| Track and log every defect | Build long-term process intelligence |
| Empower operators with training | Boost on-the-spot detection |
| Automate color and registration control | Reduce human error |
Conclusion: Print Quality Starts with Smart Detection
Defect detection in flexographic printing isn’t just about fixing errors—it’s about building a culture of continuous improvement. Every press run offers clues, every flaw tells a story. When you listen, learn, and act proactively, you don’t just prevent defects—you elevate your entire operation.
Remember: great printing doesn’t happen by accident. It’s engineered by design, supported by technology, and empowered by skilled humans who care about quality.
So, let your pressroom be a place where defects go to die—and brilliance takes the spotlight.

