The article was prepared and submitted to us by Troika Systems Ltd.
This article is part 1 of the series on how to inspect anilox rollers.
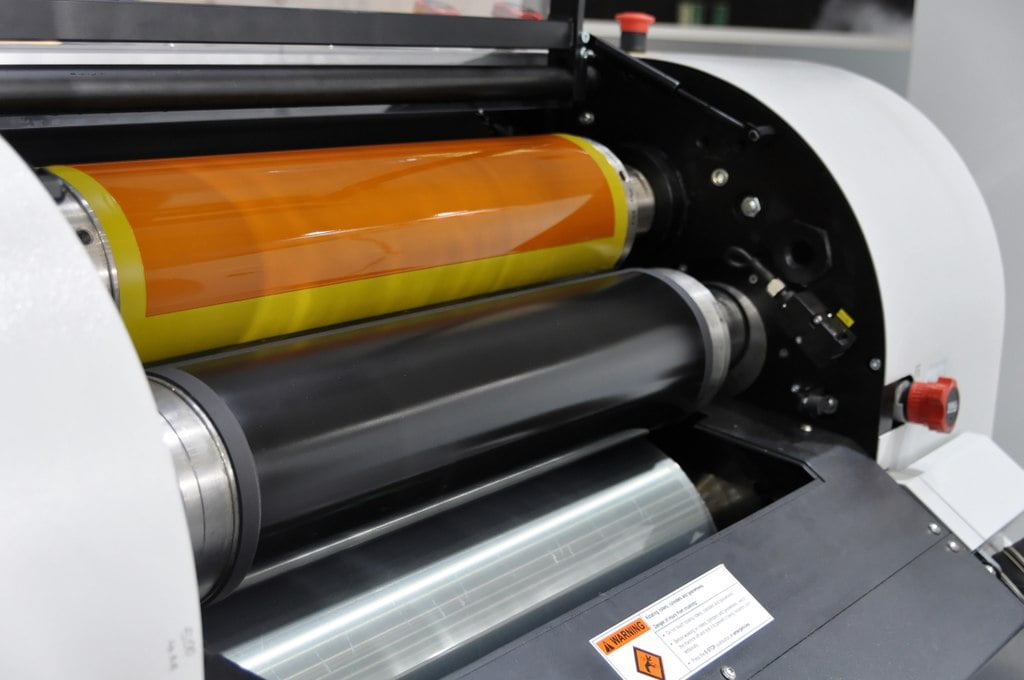
For many printers, the anilox is a simple product to carry ink to their flexo plate. They rarely consider anilox roller as the root of print errors. Nonetheless, an incorrectly engraved anilox will yield different outcomes from rollers used in fingerprints. Worn and dirty rollers will not provide enough ink for the printer to achieve density targets. Damaged rollers will evidently cause print errors with lines, dots, or excessive ink transfer.
Importance & Necessity to Inspect Anilox Rollers
Jon Jordan at Troika Systems advises checking three crucial areas to assess the health of anilox rollers:
- Monthly (at least) measurements aid in monitoring wear and cleanliness.
- Preemptively checking before issues demand job stoppages for maintenance.
- Ensuring inspections occur each time anilox rollers are thoroughly cleaned.
Printers, when gauging their aniloxes, should ensure consistency in ink volumes across the anilox and from one anilox to another. Look for damage to the anilox cells, materials expended on extended jobs, physical harm from press contact or excessive doctor blade pressure, and poor cleaning. Measure ceramic quality and inspect for damage, usually as a result of misuse or manufacturing flaws.
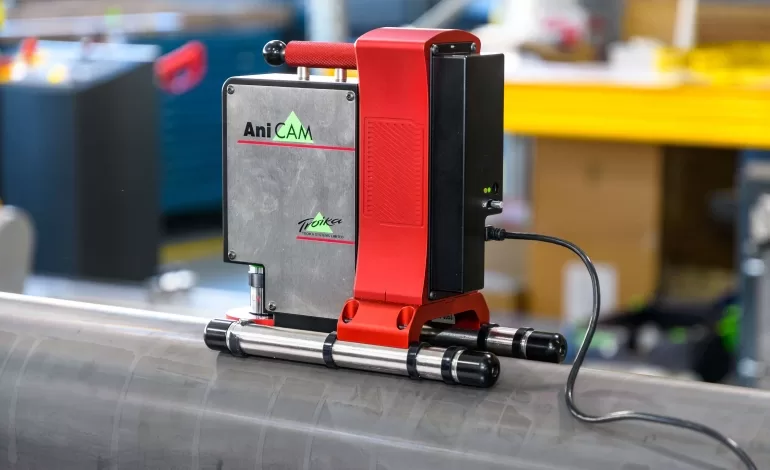
Regardless the device you use, accuracy in measurement tools is crucial, with a requirement of at least ± 0.1 cm³/m² and ± 1 μm. A 0.4 cm³/m² volume variance across a process anilox will produce approximately three delta-e, making modern electronic 3D scanning microscopes or interferometers more advantageous for today’s demanding processes.
Measuring is just one part; it is equally important to react to data and trends. By using a database, you can store measurements for each anilox, track wear trends, and know when refurbishment is due. The ink kitchen must be aware of current volume to calculate inks accurately, saving time and materials in extended job setups.
Before measurement inspections, ensure anilox rollers are cleaned; otherwise, you will only confirm that they are dirty without obtaining accurate volume/depth or identifying surface damage. Ideally, place the inspection/measurement setup next to the anilox cleaning system and analyse immediately after cleaning. Store anilox rollers securely, preferably in a protective sleeve, and ensure stability during measurement to avoid damage. It is common to see anilox damage from falls, so use a rubber V block for stability. Log the data and analysis; holding onto a worn anilox “just in case” serves no benefit.
This serves as part 1 of a three-part article series on how to inspect anilox rollers. Check parts 2 and 3 for more inspiration.


