
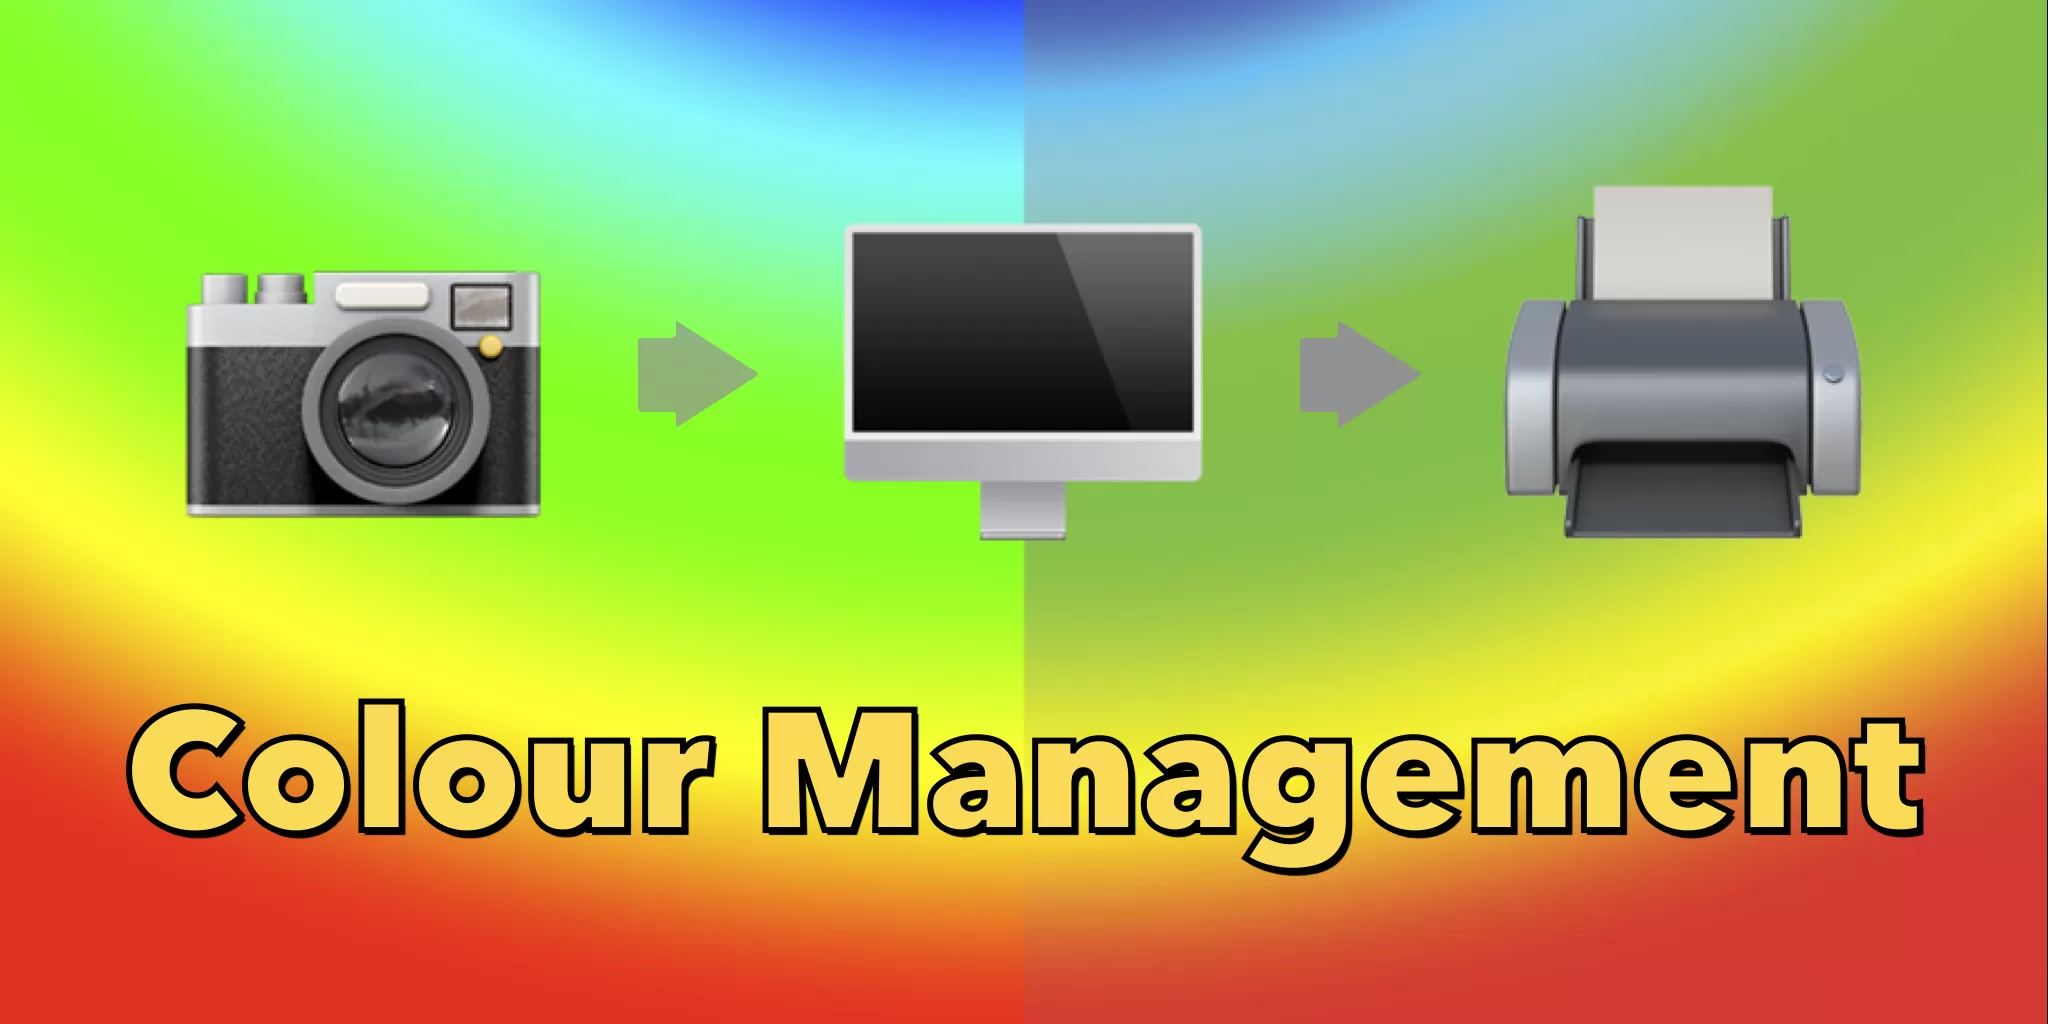
What is Flexo print colour management?
Flexo print colour management manages every step in context, matching the COLOURS of Contract Proof and Print-Run.
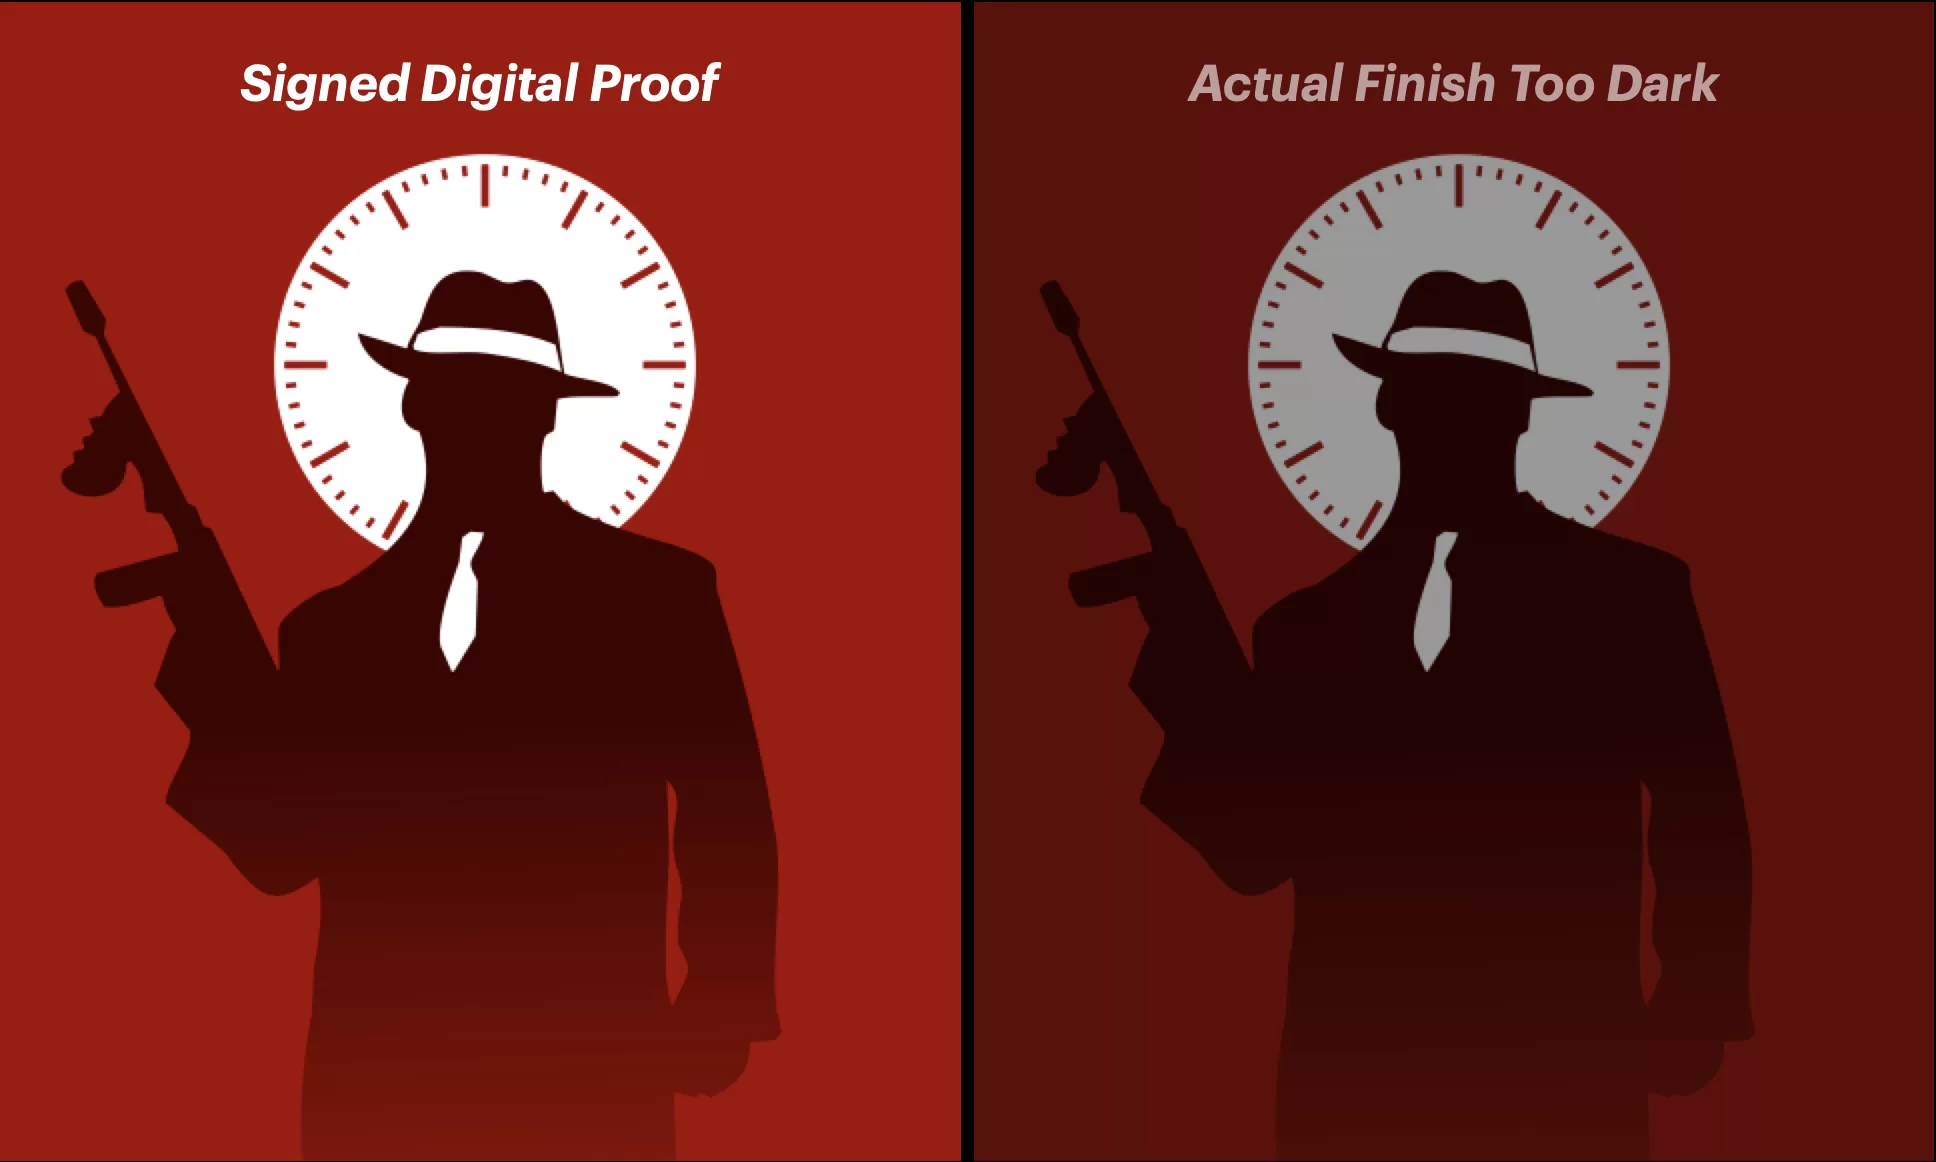
And now, simply assume that you want every item of your product family to have the same colour.
Printer A – Print Too Dark
Printer B – Print Too Pale
Printer C – Print Too Red
Nothing resembles what you expected!
– Why does it differ from the product I approved?
– The artwork was beautiful, but the print is awful.
This white is actually grey rather than white.
Why is the flexo print so terrible but the gravure print looks fantastic?
Each size of that product range does not have uniformity; they all appear to be different!
Why We Need Flexo print colour management?
1. Reducing setup-time and waste
2. Simulate the final printing result and secure colour-match
3. Save Money
 © Anyflexo
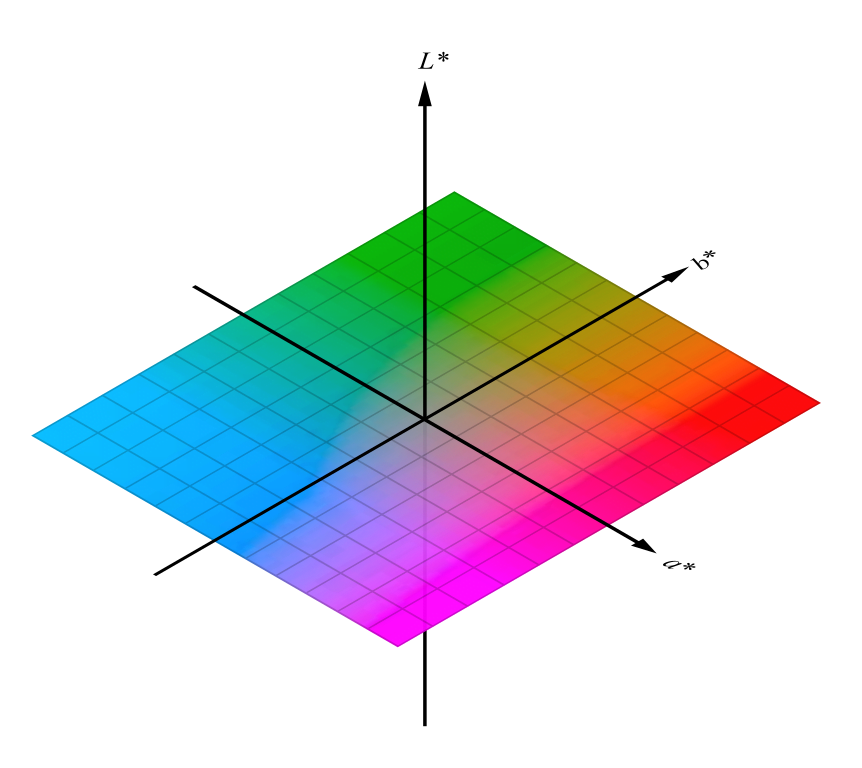
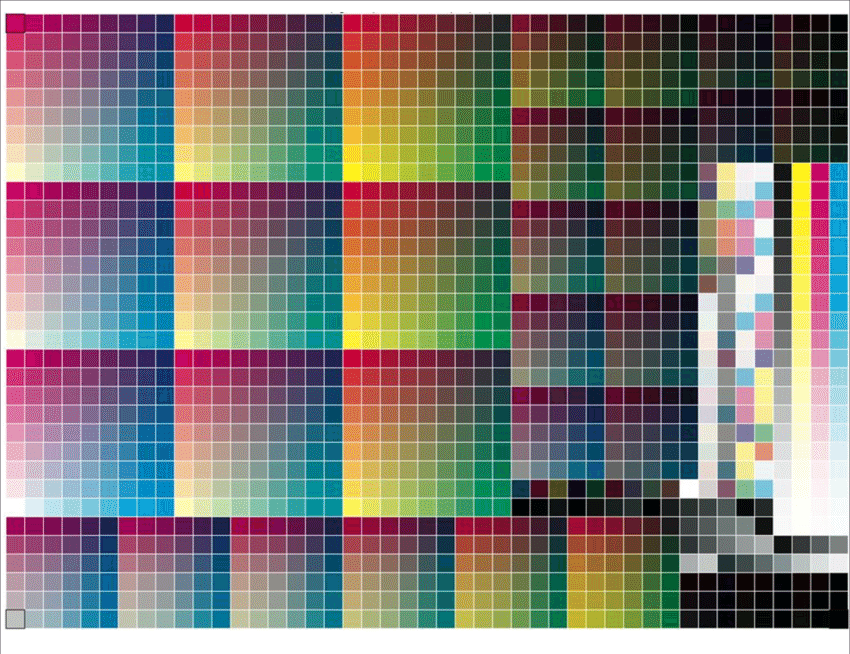
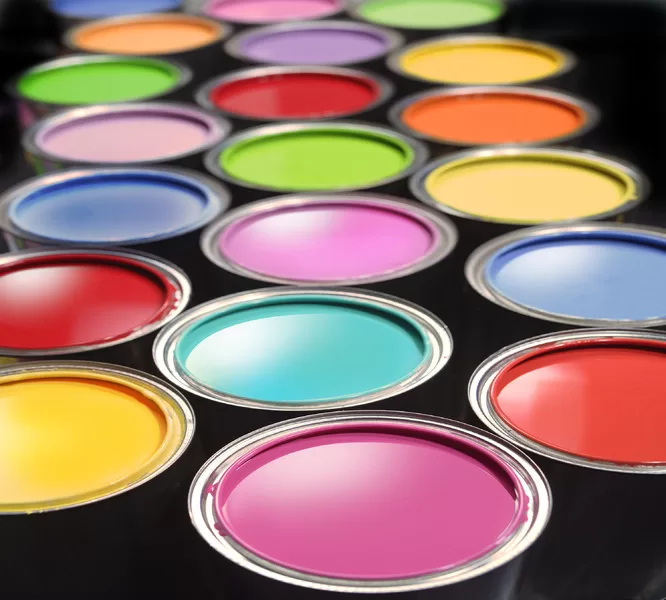
Colours are measurable. The CIELAB The CIELAB Colour-Space was established by the International Commission on Illumination (CIE) in 1976. Three coordinates are used to identify each colour. L* stands for lightness. a* = Red – Green Axis b* = Yellow – Blue Axis
 © Nilsjohan
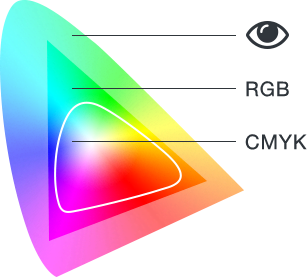 © Ferlixwangg
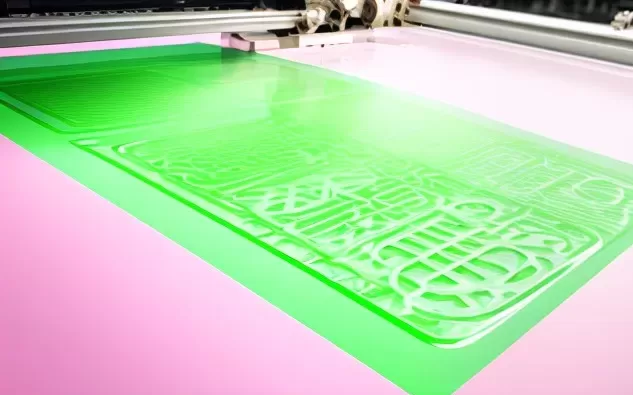
Plate & Fingerprint File
When creating a fingerprint file, only include graphics, tables, and linescreens that any press can print effectively. But you’ll typically find with a good profile that not all portions will succeed. Why? When creating a file, it is critical to include linescreens that are higher than typically printed, reverse copy that is smaller than usual, and highlight dots that are typically not possible to hold with the current process.
Fingerprinting to determine minimum dot, dot gain, line screen, and registration is standard practise when simply preparing to move from one manufacturer’s polymer plate to another manufacturer’s polymer plate. However, when embracing new technologies such as elastomer and expanded gamut, the goal is to create a fingerprint that goes beyond the limits of what you’ve successfully printed in the past. With new technology, it’s important to understand the threshold and sweet spot.
It is critical not to take the safe route—if a print shop has never printed more than 120 linescreen, it should put 133 and 150 on the fingerprint, so that the print will fail at some point. By doing so, a printer can determine where its limitations lie. When printing a higher density or finer linescreen for the first time, the printer may discover that it is a viable option.
Define the components of a fingerprint test form
Chart in colour, ECI-2002
Photographs and product photos that reflect the market and clientele of printers and allow for visual control of print quality
Tone-scales and colour harmony
Fogra media-scale; control elements, EAN, fine type (pos./neg.);
Company logos; background at 30% (all colours)
 © Kiran Deshpande
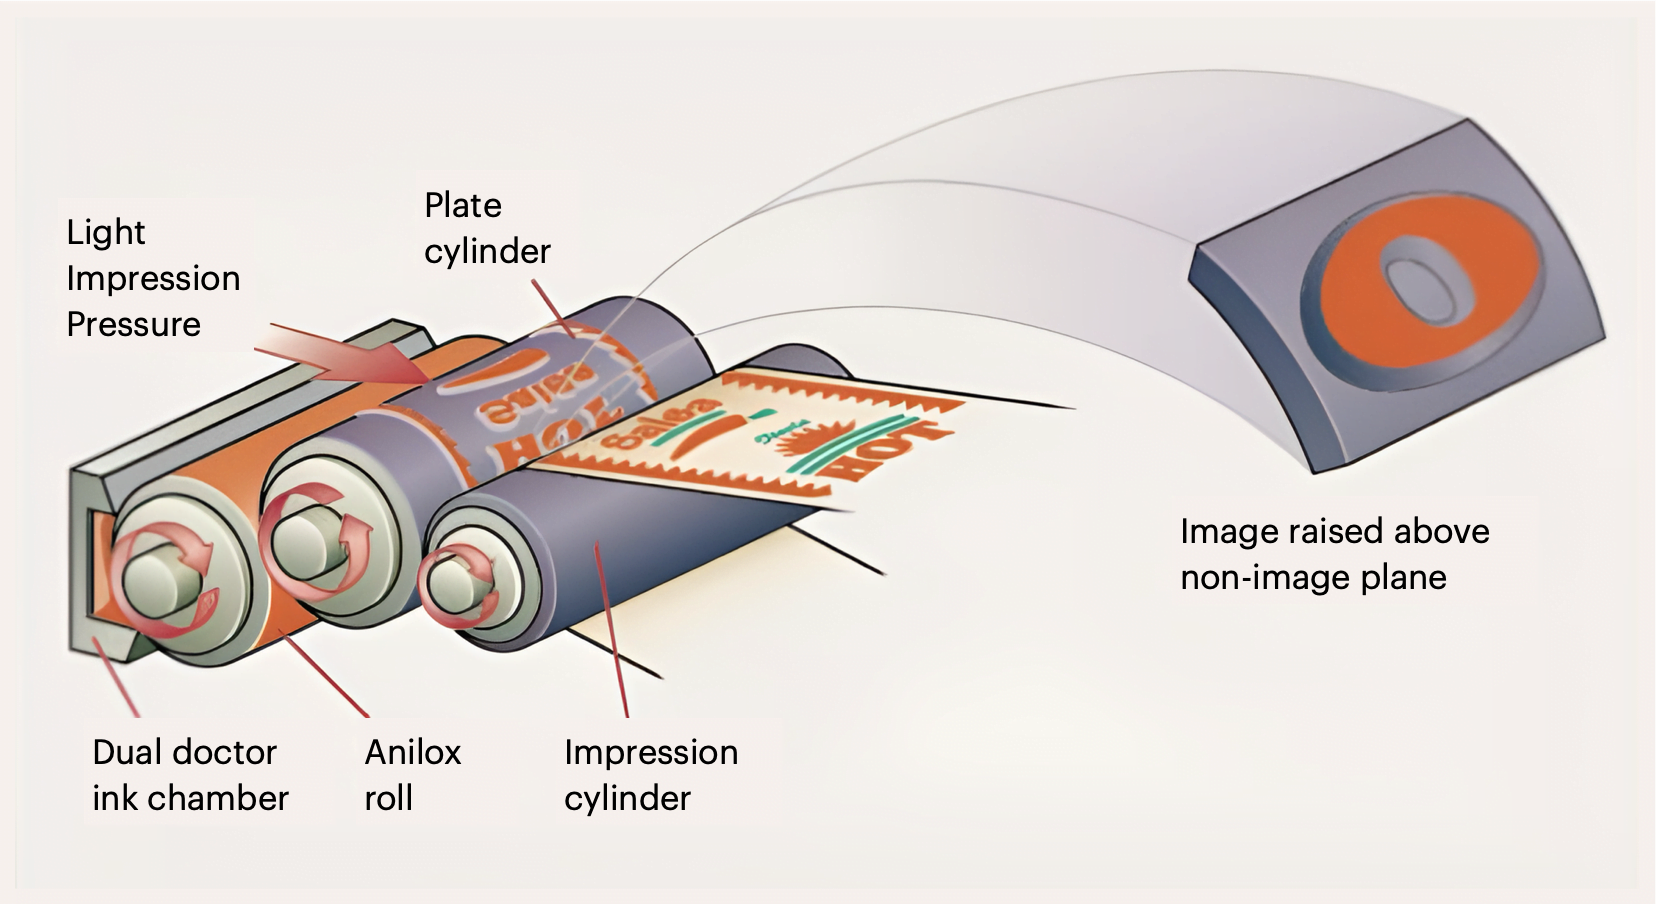
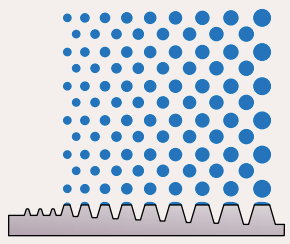
Flexo plate-making according to
Flexo plate production with consideration for the following factors: corresponding plate parameters;
screens; angles; and inking rollers;
and minimum tolerances (pictures & values)
 © Anyflexo
Many factors influence the printing outcome… Almost every printing process and almost every job necessitates the use of specific technical parameters and expertise:
- Different Printing Machines
- Different Substrates
- Different Printing Ink
- Temperature & Humidity
- Environment
- People
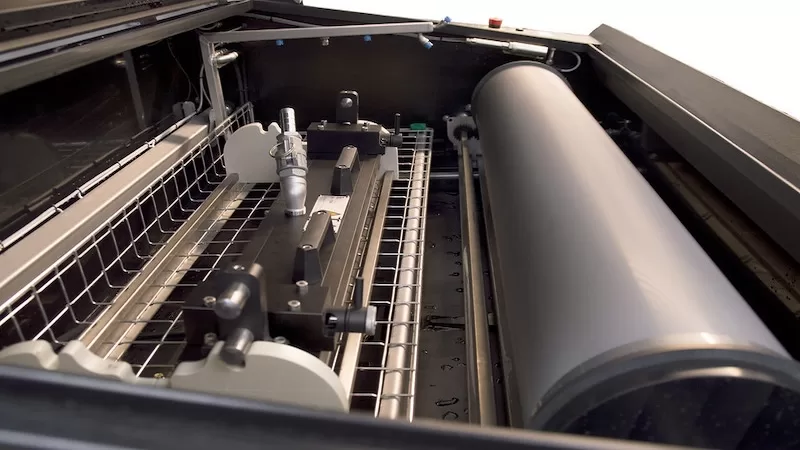
Printing presses
Different printing machines, processes, and machine settings all have a significant impact on the printing outcome…
- Type of machine
- Number of Colours
- Printing Speed
- Impression Rollers
- Pressure
- Viscosity of the inks
- Doctor-blade setting
- Temperature, Humidity
 © AFGA
Fingerprinting
Printing-press settings based on:
- Optimum production conditions
- Optimum printing speed
- Set ink-viscosity to standard
- Set ink-density to standard
- Check ink temperature
- Optimum doctor-blade angle and pressure
- Optimum pressure (pressure-roller)
- Temperature and humidity
EXPANDED GAMUT PRESS FINGERPRINTING
As more and more printers start to print using a standardised 7-colour process, fingerprinting best practises remain as important as ever. Consistent press fingerprinting with expanded gamut requires continuity and consistent horizontal density across the press sheet and from corner to corner. This is significant because inconsistent densities magnify just as much, if not more, in a 7-colour process than in traditional CMYK.
In expanded gamut, the evaluation process is similar, but due to the complexity, specialised software is required to build the achievable colour space and develop proofing processes to match the press. When switching to expanded gamut, it is critical to select auxiliary colours that best match the colour gamut of what is typically printed: Choose from green, orange, red, violet and blue to achieve the widest colour gamut.
Fingerprinting Profiling
Check L*a*b* values & DE* against target Check tone-values / grey-balance
- Check tonal value for flooding
- Measure and document dot-gain in 75% – 50% – 25% 5% values
- Is 5% tone printing stable
- Is print streak-free
- No scumming, no hazing
- No repel, dissolution or break-off
- Fingerprint “quality approval” by printer, tool-maker and ink-supplier
