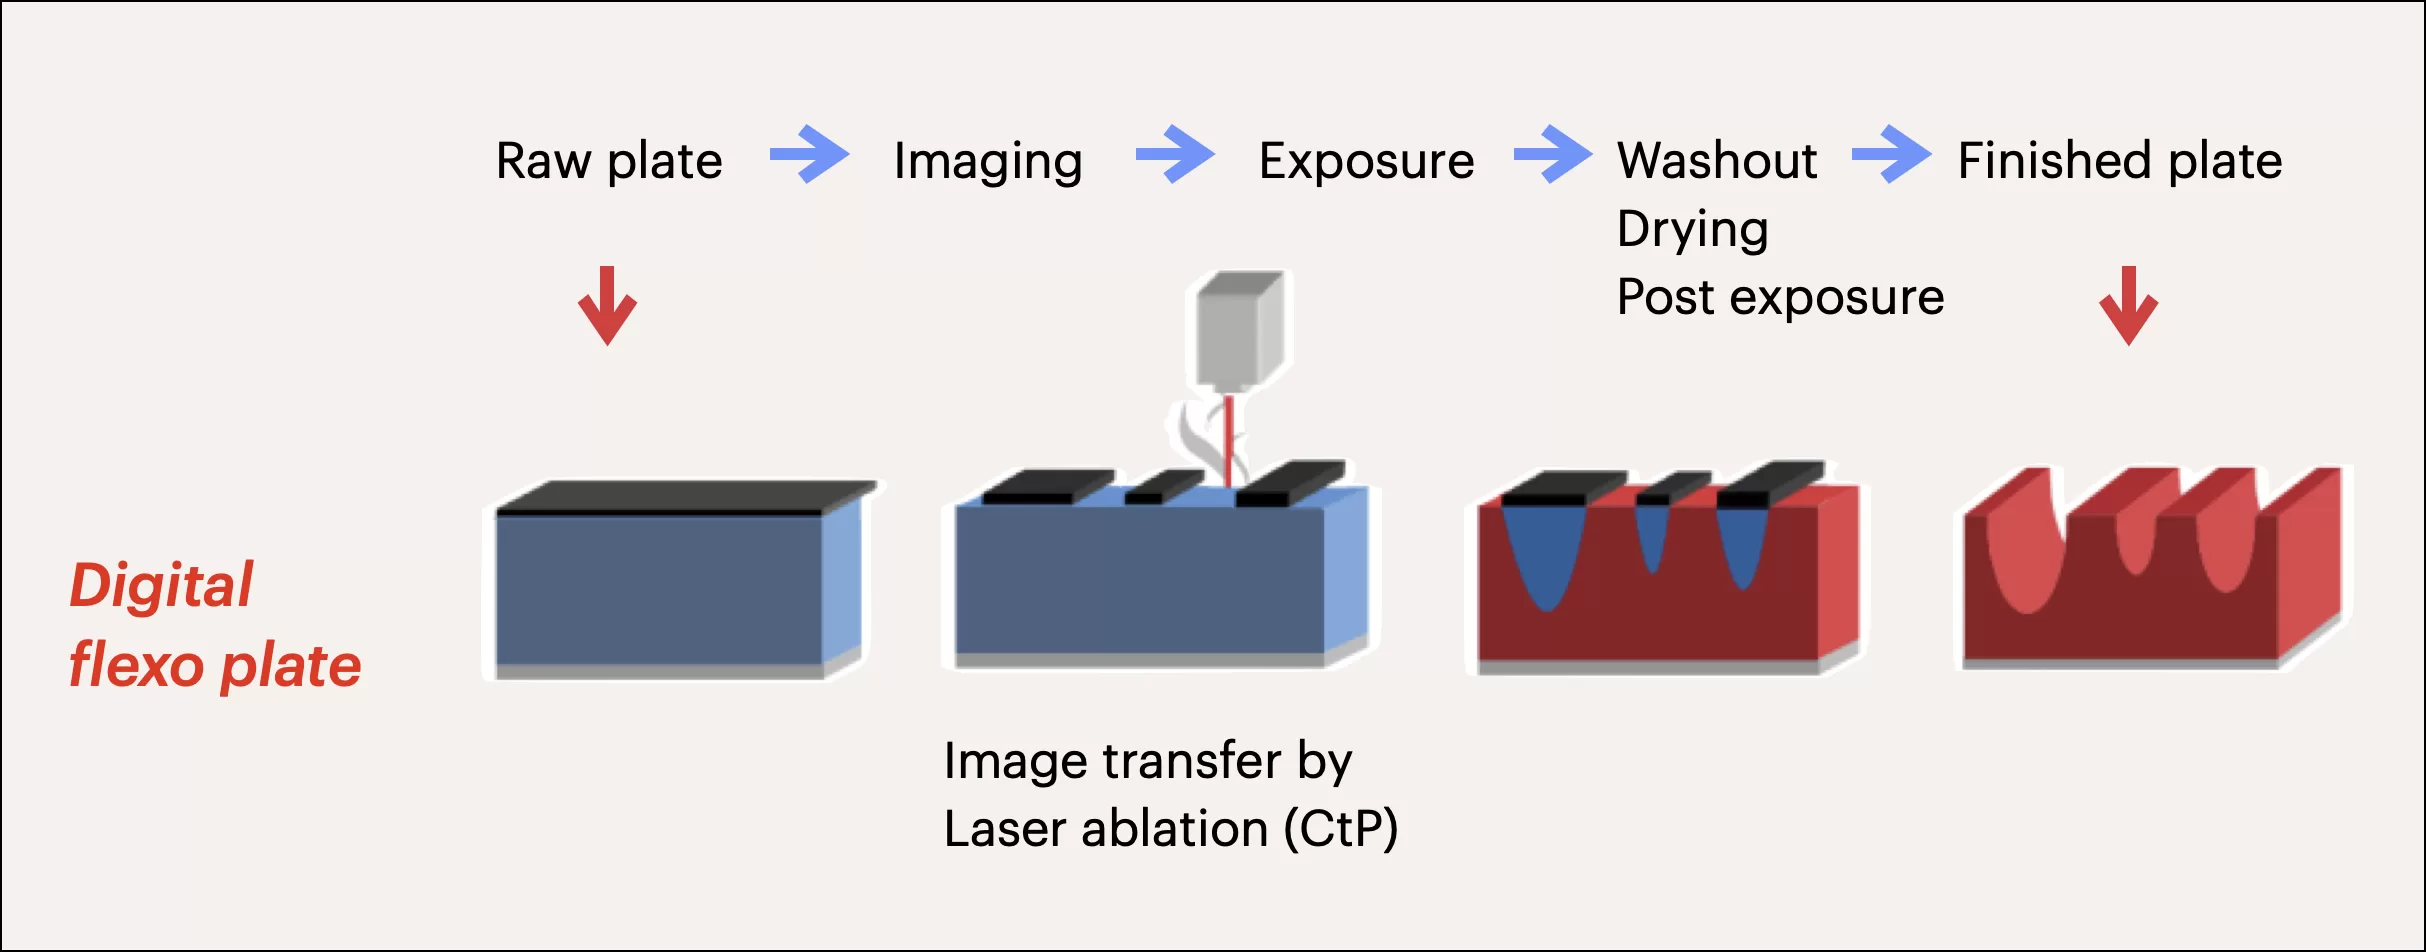
Before embarking on a flexographic print job, several critical factors must undergo meticulous scrutiny to ensure precision and quality. These factors constitute a prepress checklist for flexo printing.
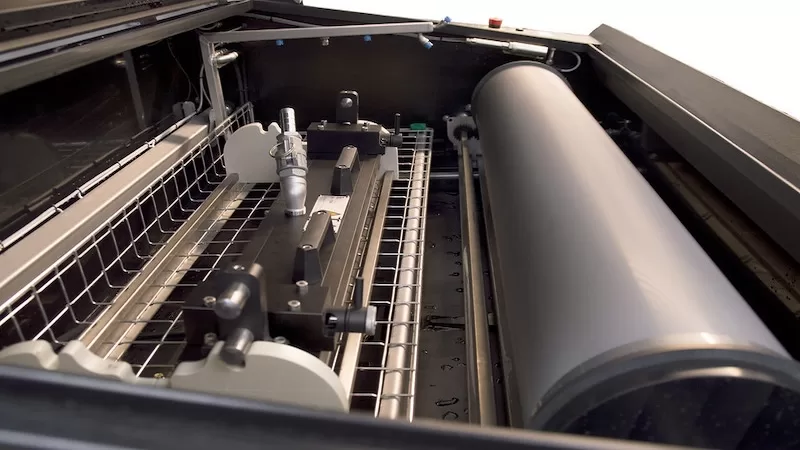
Prepress setup in flexographic printing involves the installation of necessary plate cylinders and inks, calibration of impression and ink pressures, fine-tuning register alignment, and configuring any finishing processes like cutting, folding, or gluing. Precise pressure control holds significant importance in achieving accurate printing results.
Post adjustments on the press, the operator meticulously inspects the colours by running a sample at or close to production speeds. It’s imperative for designers to conduct a press check during the initial print run to monitor print quality and accuracy.
What do we check before a flexo press runs? Prepress Checklist for Flexo Printing
Outlined below is a comprehensive prepress checklist that are essential for flexo printing.
 © AGFA
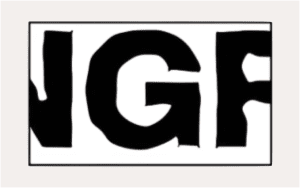
Typography
Are the point sizes accurate? Is the text sharp and clear as expected? Have there been any alterations in font weight?
Has elongation affected leading, letter spacing, or word spacing due to plate mounting?
Inspect for outline halos using a magnifying loupe.
 © AGFA
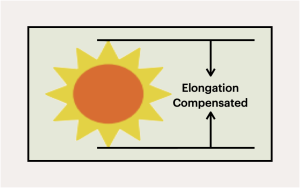
Distortion
Have raster images been compressed with precise distortions to counteract elongation effects during plate mounting?
 © AGFA
Internal Registration and Trapping
Do the colours align correctly and exhibit proper trapping techniques?
Check for potential misregistration areas caused by inconsistent elongation.
Ensure that colour-to-colour registration with screens does not exceed a single row of halftone dots.
 © AGFA
Colour Density and Intensity
Is the colour density appropriate, especially when both screens and solid colours are printed from the same cylinder?
Is colour strength consistent across the print surface?
 © AGFA
Colour Matching
Do spot colours match accurately?
Every colour should be examined under 5000 Kelvin lighting conditions. Consider using colour measurement tools for precise colour matching assessment.
 © AGFA
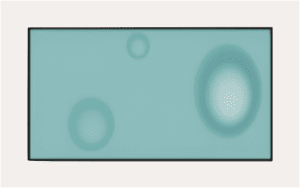
Ink Lay-down
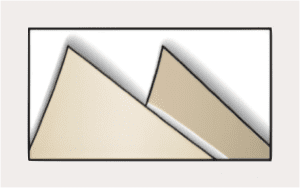
Is the ink lay-down consistent without any mottling?
Are there any pinholes or uneven ink coverage?
Examine halftone dots under magnifying loupe; they should appear sharp other than slurred.
 © AGFA
Substrate
Is the substrate’s width, thickness, and type as specified for the job?
For opaque films, is the level of opacity satisfactory?
 © AGFA
External Registration
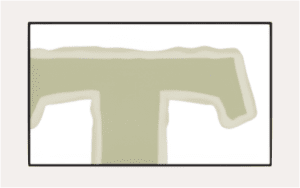
Does the print align correctly with specified finishing operations such as die-cuts, side-seals, perforations, slots, scores, or glue areas?
Request a mock-up container to verify external alignment accuracy.
 © AGFA
Ink and Impression Levels
Check solid colour edges for outline halo, a sign of excessive ink or impression pressure.
The press operator may adjust pressure levels; some plates may require remaking or remounting due to spot colour inaccuracies.
 © AGFA
Dot Gain
Ensure that dot gain levels resemble those obtained during fingerprint trials.
 © AGFA
UPC and Bar Coding
Have the barcodes been positioned to allow sufficient open space around them for scanning? Excessive impression may render the barcode unreadable.
Decide whether the bars should be aligned parallel or perpendicular to the direction of the web; perpendicular alignment may be impacted by plate elongation effects.
 © AGFA
Wind Direction
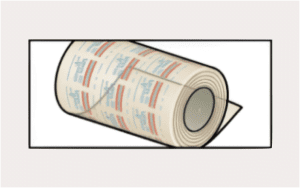
Is the job correctly oriented and wound on the press?
For roll-to-roll presses, verify the direction of the print rewind mechanism.

