This blog was written and submitted to us by Sandra Kaiser. Visit Flexo Consulting to know more.
How is colour created and how can colour be measured and assessed?
For an object to appear visible and coloured, it must be irradiated with light and interact with it. The saying: “All cats are grey at night” is common knowledge, because without light, no colours. Similarly Colour in flexo printing plays a crucial role.
What exactly happens when light hits an object and how does it turn into a colour impression?
As is well known, light consists of different wavelength ranges of the visible spectrum from 380 to 780 nanometers. When a beam of light enters the surface of an object, the wavelength ranges of the incident light are subtracted and the unabsorbed light is scattered back by the object. The light signals arriving in the eye are converted into electrical impulses. The electrical impulses are thus transmitted through the optic nerve to the visual centre of the brain.
However, which light signals arrive in the eye also depends on the surface properties of the object or substrate. If a beam of light hits a smooth surface, it is reflected back directionally, hence referred to as specular reflection. However, if it hits a matte surface, the light colour is reflected back diffusely, hence referred to as diffuse reflection.
But, now, get back to flexographic printing and the measurement of colour on a substrate. Just like an object, a substrate absorbs and reflects certain wavelength ranges. These can be detected with a measuring device, spectrophotometers and densitometers are used for this purpose.
Getting the ink right
An ink can be precisely described by its spectral reflection or transmission curve. The curve is obtained by measuring with a spectrophotometer: the ratio of the radiance of the substrate to the radiance of a white standard is compared upon reflection. The measurement geometry most commonly used in the printing industry is 45°/0°, which means irradiation at 45° and measurement of the energy reflected back at 0°. These geometries were chosen to directly suppress gloss on the sample surface. When measuring with a densitometer, the reflectance is also measured, this gives an indication of the amount of paint applied.
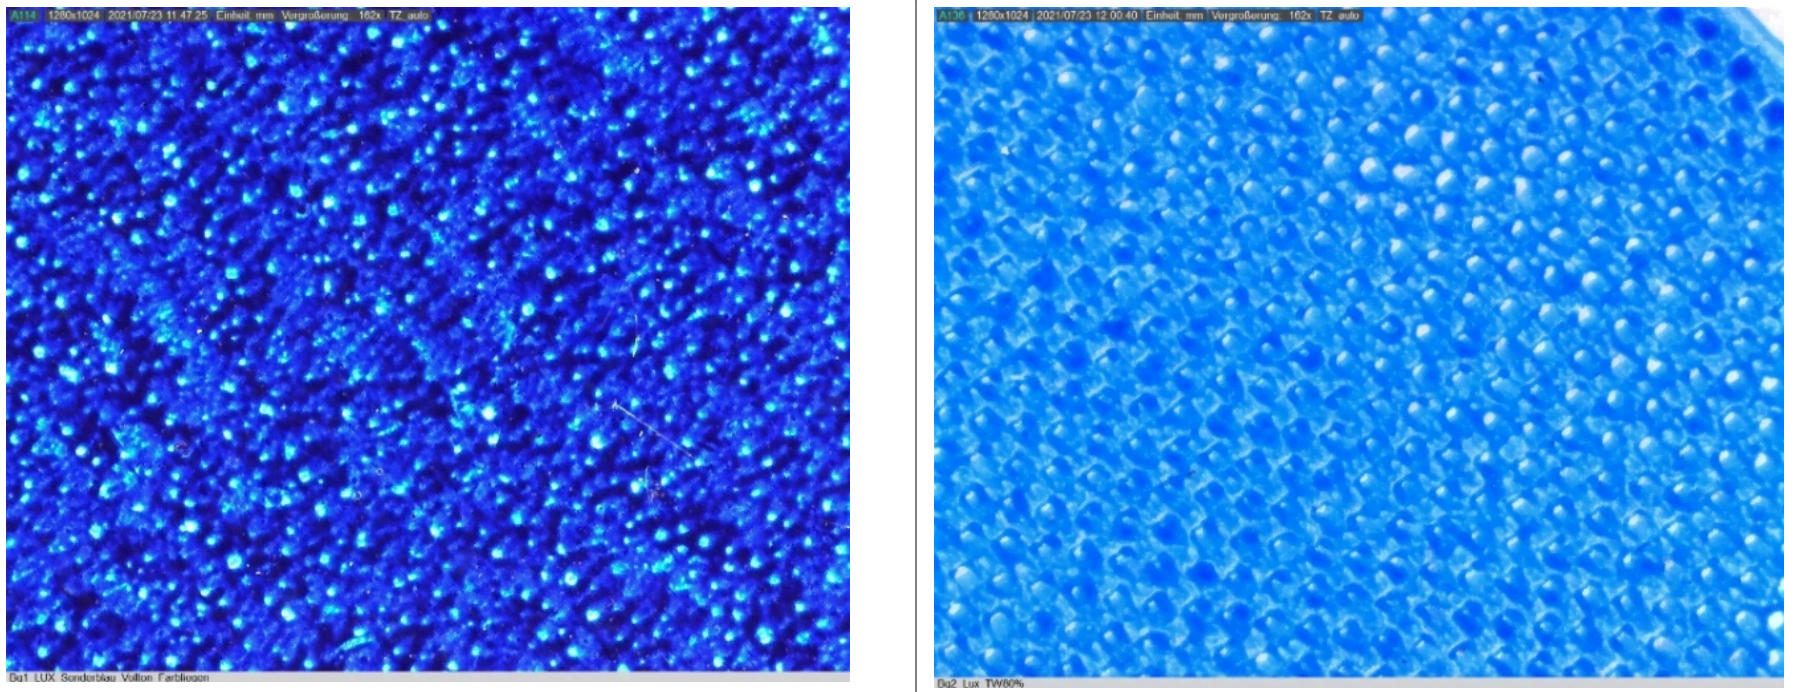
If the ink layer is applied too thickly, the ink may appear darker and cause problems with ink drying. In the case of absorbent substrates, for example, the ink may not penetrate the substrate but remain on the surface due to oversaturation of the fibers.
An ink density that is too low represents too little ink, so the colour tone can appear lighter and halftone images pale.
 © Sandra Kaiser
How to use ink density values for quality control?
Densitometers are primarily designed to measure process colours (cyan, magenta, yellow and black), so it is necessary to place a print control strip with solid patches for the measurement. These are usually printed outside the print image.
With the help of these measuring patches, it is possible to evaluate the product quality metrologically. To determine the area coverage and dot gain, the measurement is carried out on a defined halftone patches in the print control strip.
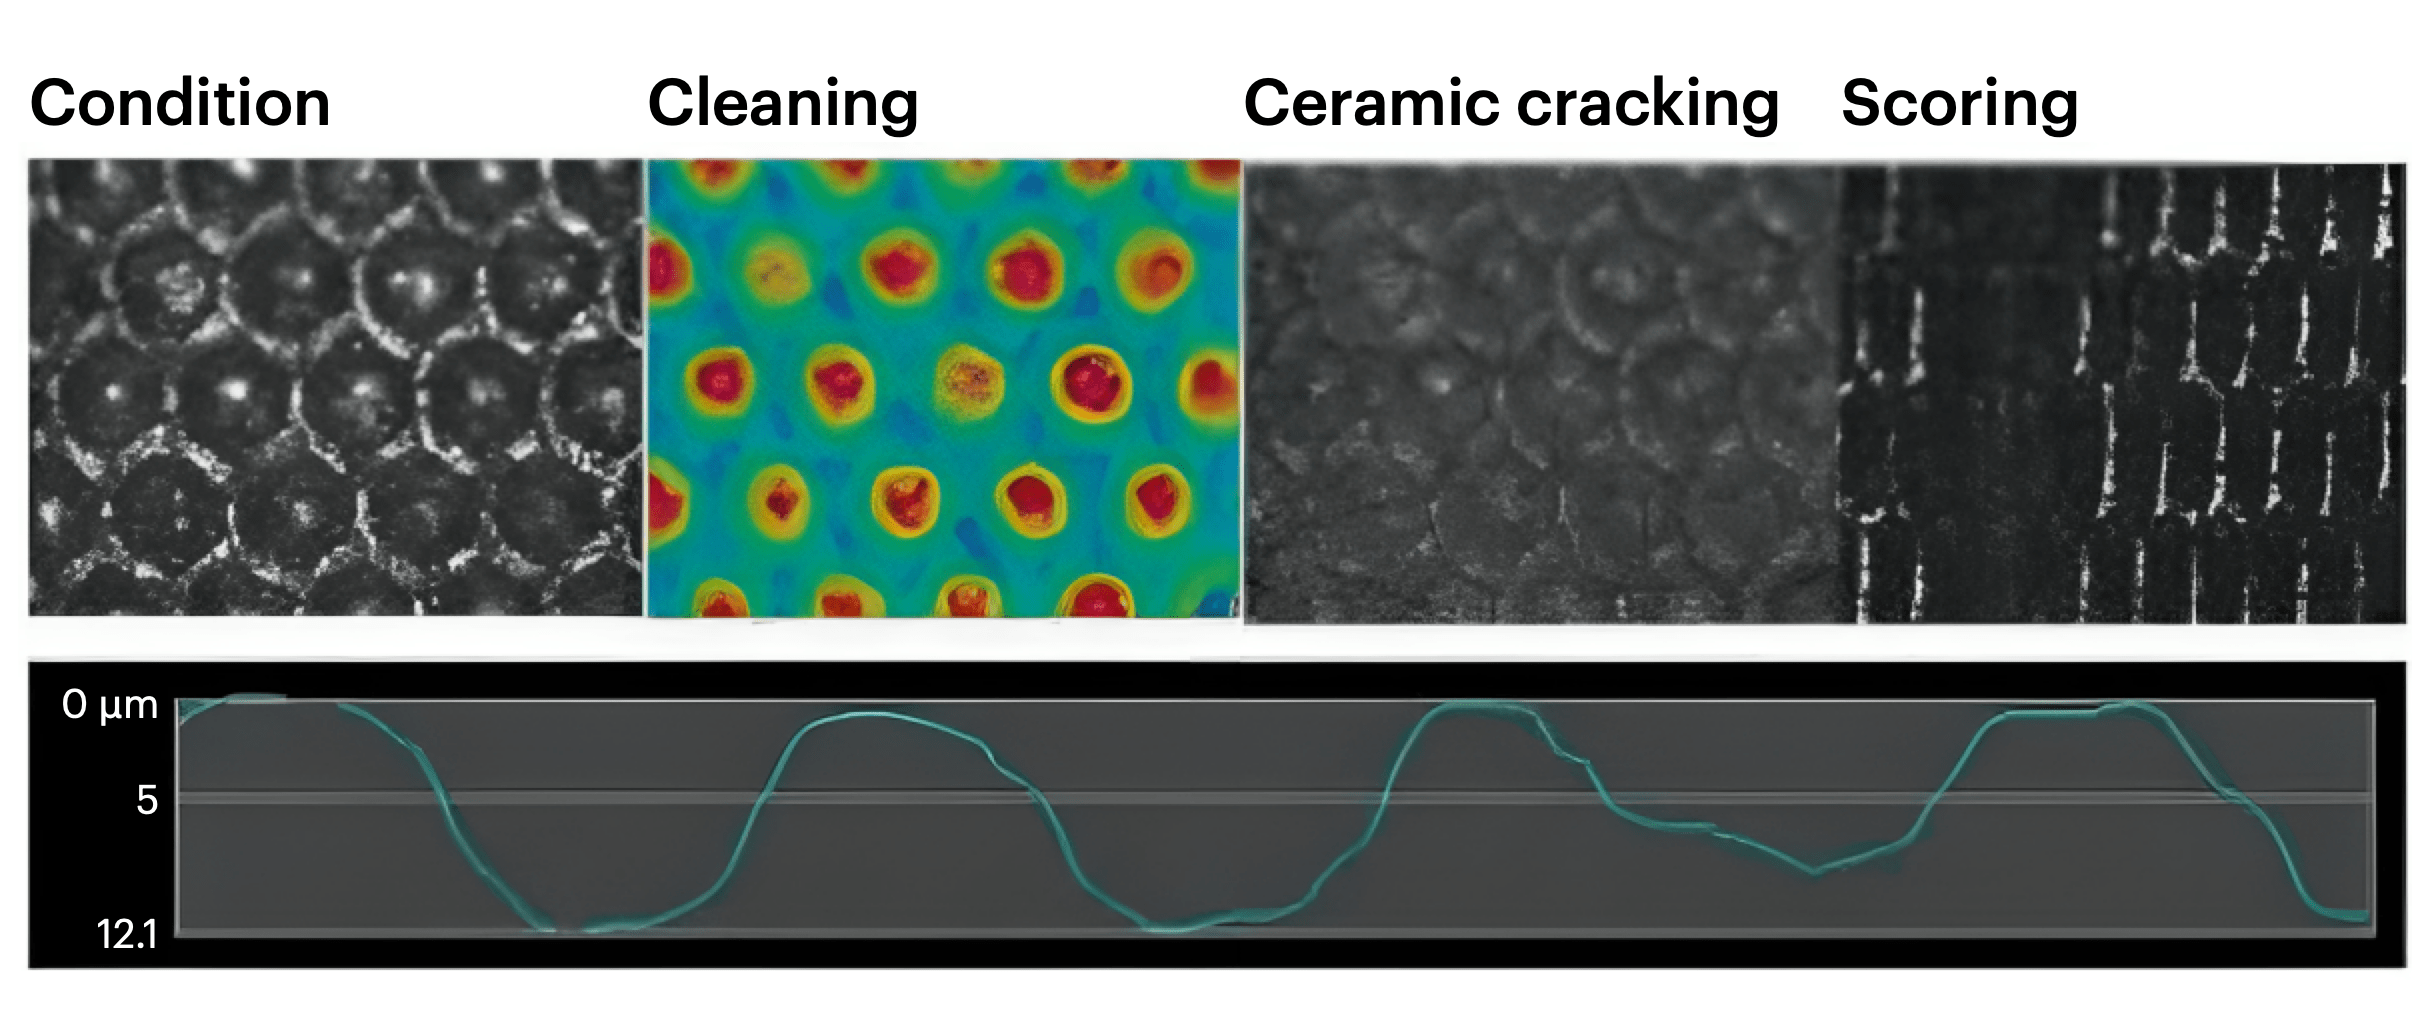
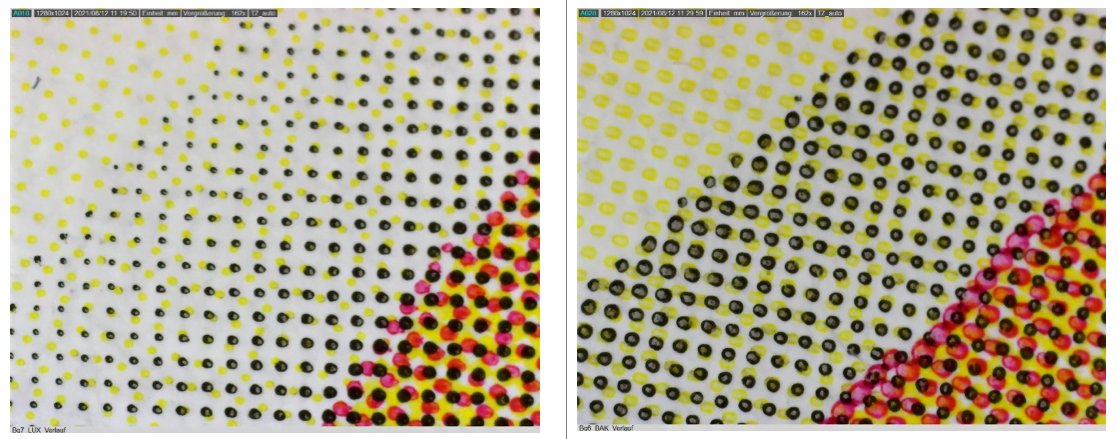
If the area coverage is too high or the dot gain is too early, the printer on the press can react accordingly and reduce the amount of ink provided. An excessively large or elongated printout of the finest halftone dots in the highlight area can also indicate wear of the printing plate, see the following graphic:
 © Sandra Kaiser
This is how colour in flexo printing is created, measured and assessed.

